Best product for my application
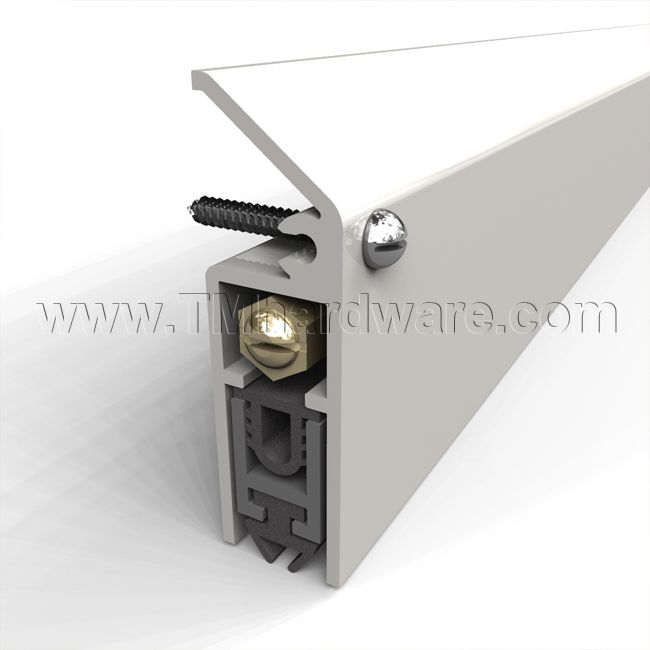
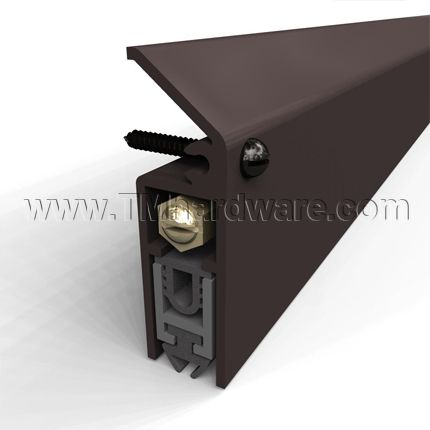
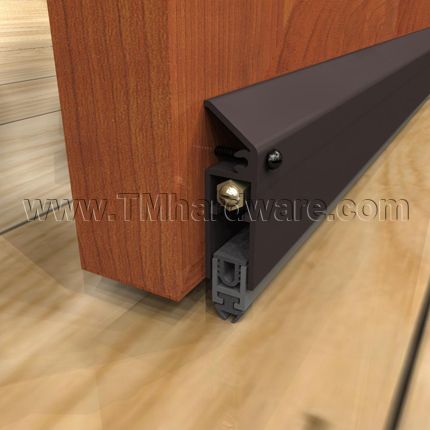
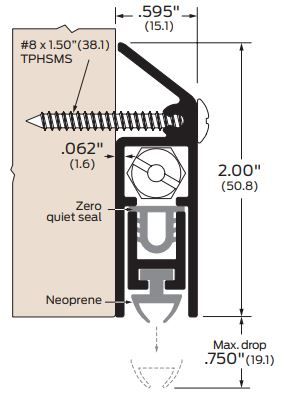
Comments about Zero #321, Automatic Door Bottom, Surface Mounted Aluminum with Neoprene Seal, .5" Drop
I purchased 3 of these automatic bottoms for use on an exterior entrance consisting of a 42" main door and 2- 24" doors for ventilation on either side. I especially wanted the integral weather hood as snow would pile against these doors. I would have preferred silicone seals for temperature and wear when frozen, but hopefully neoprene will be durable. The online order form does not allow one to specify handing, but an email to TMHardware said that could be handled in the field. There were no instructions on how to do this, and it took me some time to realize just how the hidden spring mechanism works so that I could end-for-end it. These bottoms are cut to length and drilled in the factory to order specifications, but I had to drill an extra mounting hole in the 42" bottom near the end for proper attachment. The instructions do not tell one at what height to mount the bottom. All pictures indicate that the bottom is to be mounted with the metal portion of the body flush with the bottom of the door. This is great for interior doors with no threshholds, but for an exterior door with a stop threshhold and weatherstripping, the bottom of the door is below the threshhold. I mounted it 1/8" above the threshhold and it now seals well without exposing the aluminum track that holds the neoprene seal. I discovered that when the door stops have weatherstripping, only half of the adjusting screw hits the metal stop. I hope that this will not become a problem. To apply the ends to make the bottom look finished, one must create threads with a philips-head screw in an aluminum extrusion. An impact driver rounded out the philips, so I had to use locking pliers on the screw head to complete the threads.